Here are the Instructions that I followed to root and Install a Custom ROM (Here Resurrection Remix [RR] OS)
*** Disclamer
/*
 * Your warranty is now void.
 *
 * I am not responsible for bricked devices, dead SD cards,
 * thermonuclear war, or you getting fired because the alarm app failed. Please
 * do some research if you have any concerns about features included in this ROM
 * before flashing it! YOU are choosing to make these modifications, and if
 * you point the finger at me for messing up your device, I will laugh at you.
 *
 */

Pre-Requisites:
- Turn on the USB debugging option from the Developer Options (Press Build number of your phone to unlock Developer Options). Then, download and install the Samsung USB drivers for Windows from here
- Next, Download the CF Auto-root from here and extract it. (Credits to @ChainfireXDA)
- Then, we need Odin3 tool. (which is also included in the above CF Auto-root ZIP file)
- Next, download the Custom ROM you need and which matches the Samsung device of your choosing (here, since I’m going to use the Download Resurrection Remix from here)
- Finally, Download GApps (In my case it should be; Platform ARM -> Android 8.1 -> Micro. It can be any package of your preference eg: nano/pico/micro, etc.)
- Optional: You can download other flashable files to be flashed after successfully flashing RR with GApps. Eg: Magisk for a Systemless root
Note:
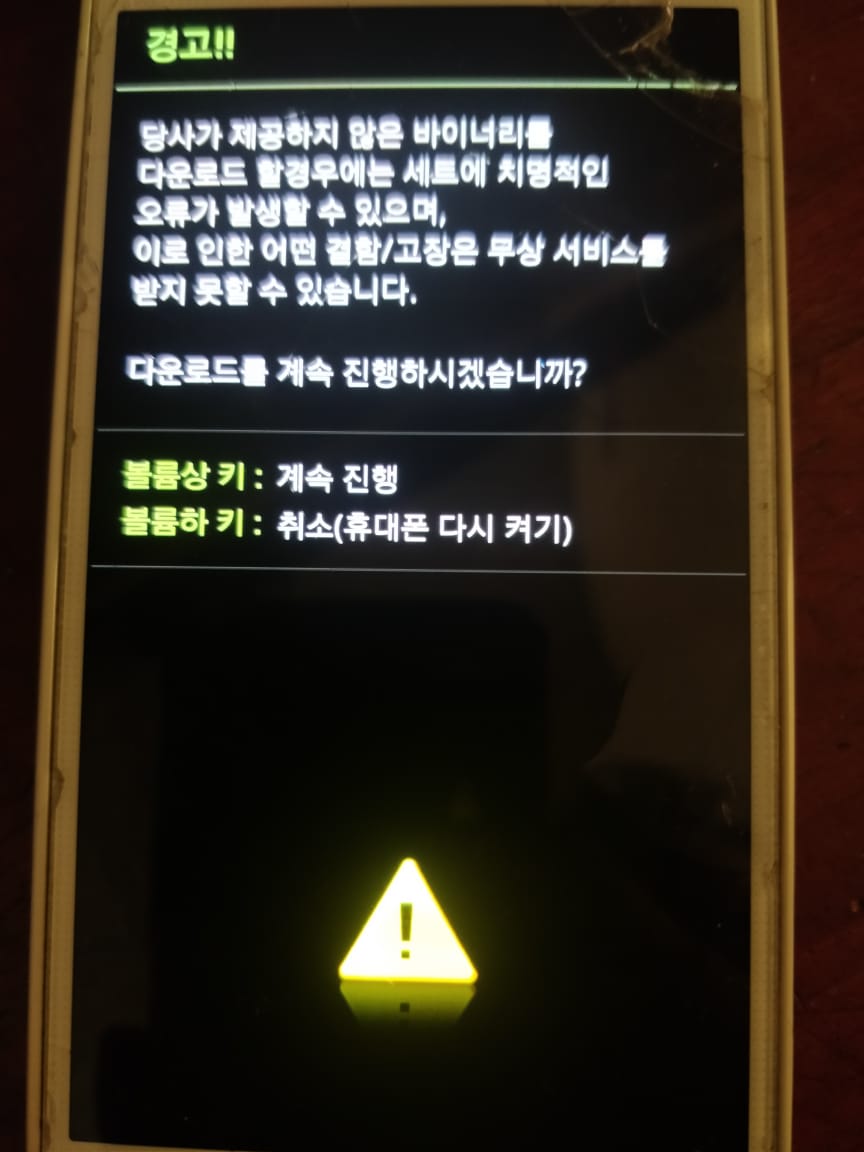
After turning off the phone, Press the Combination of {Volume Down + Power + Home} and when you see a Message with a Warning Triangle [Figure 2_a] Press Volume Up for a Galaxy S5 to work in the Odin Mode [Figure 2_b]. For it to be working in the Recovery Mode, Press the Combination of {Volume Up+ Power + Home} keys

Figure 2_a
 Figure 2_b
Instructions
- First, use the Odin3 tool for Windows.
By using the Odin3 tool you can flash the CF-Auto-Root-lentislteskt-lentislteskt-smg906s.tar.md5 MD5 file. [From AP in the Odin3 tool give the MD5 file included in the above CF Auto-root ZIP’s extracted folder, as it is shown in Figure 3 and press start. After finishing it’ll reboot]

Figure 3: Flashing using Odin3 tool
- After rebooting it will take some time to process. The first time you boot into the Android there will be SuperSU already installed from the above MD5 file
- Next, install TWRP from Play Store and grant it root privileges and Flash the latest TWRP Recovery for the given device
- Boot into TWRP Recovery (Volume UP + Home + Power)
- Wipe System, Cache & Data
- Format Internal Storage and reboot again into Recovery
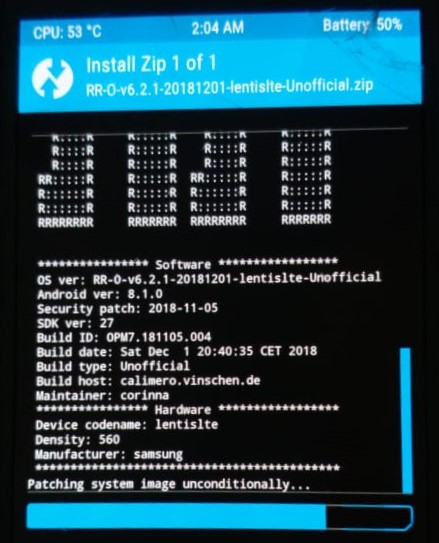
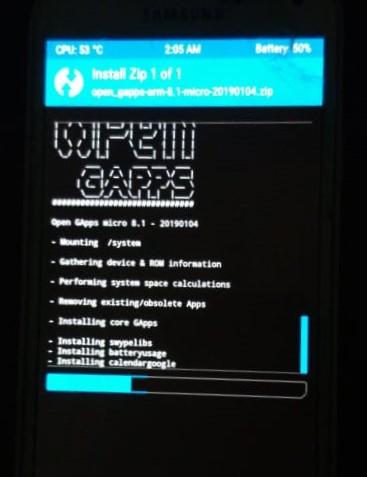
- Copy the Custom ROM, GApps, Magisk (For a Systemless Root) to the Internal Storage and flash them in that order. [Figure 4]
- Congratulations…! If you’ve followed the above steps and rebooted into the System then you’ll be greeted with the RR boot animation.


Figure 4: Flashing RR and Open GApps
To summarize what has been done in the above steps, First, the phone is rooted by using the CF Auto-root. Since, now you have the SuperUser privileges you can directly flash a custom Recovery (Here, TWRP). After flashing a custom Recovery you can install any Custom ROM that is compatible with the device.
adiós…!
